Crispy Skin Duck Legs with Cherry-Red Wine Pan Sauce
Duck legs with shatteringly crispy skin and a glossy cherry-red wine pan sauce — a restaurant-worthy dinner you can nail at home.
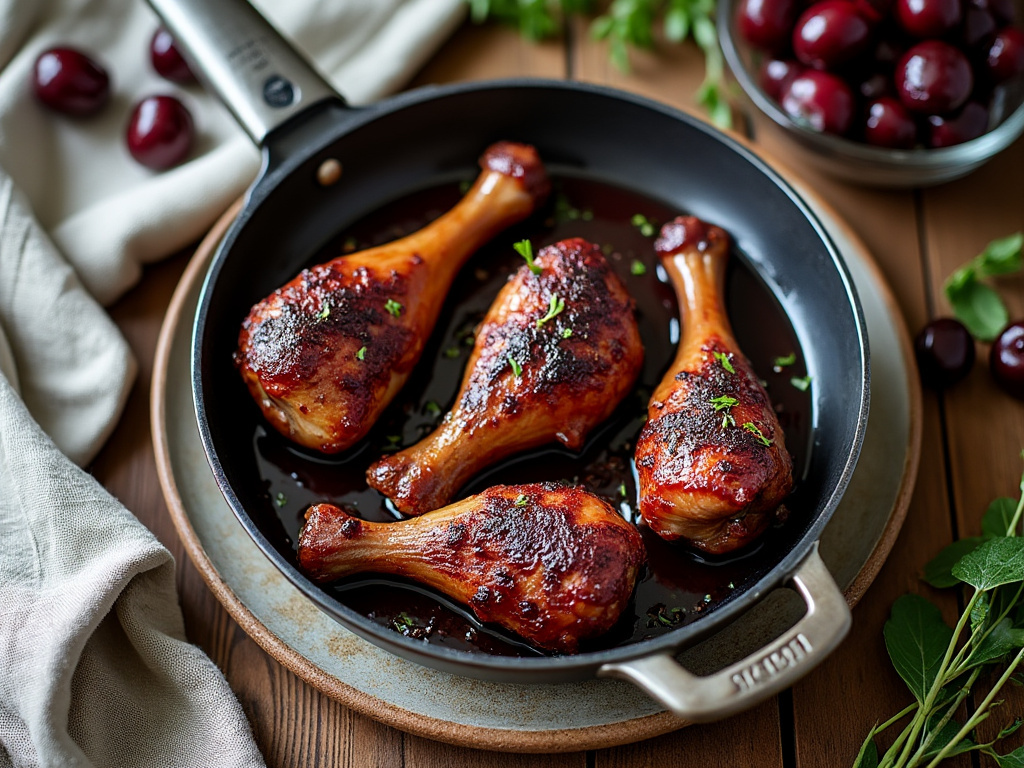
Duck legs are one of the most forgiving proteins you can cook: loaded with intramuscular fat that essentially bastes the meat from the inside out. The fat cap is the whole game here — score it in a crosshatch pattern, start it in a cold pan, and render slowly so the skin crisps without burning. Rushing the sear is the single most common mistake, and it costs you that shatteringly crunchy exterior.
The pan sauce comes together in minutes using the rendered duck fat left behind — no stock required. Expect meat that pulls away from the bone with a gentle tug, skin that crackles when you press it with a fork, and a sauce that's deep and slightly tart from the cherries cutting through the richness. This is a Friday-night dinner for four, impressive enough for guests but low-stress enough that you won't be wrecked by the time they arrive. If the skin isn't crisping by the 25-minute mark, increase heat slightly and give it five more minutes — don't flip early.
Ingredients
- ▸ 4 duck legs (about 12-14 oz each), patted completely dry
- ▸ 1.5 tsp Diamond Crystal kosher salt
- ▸ 0.75 tsp freshly ground black pepper
- ▸ 0.5 tsp garlic powder
- ▸ 2 cups fresh or frozen dark sweet cherries, pitted and halved
- ▸ 1 cup dry red wine (Pinot Noir or Côtes du Rhône)
- ▸ 0.5 cup low-sodium chicken stock
- ▸ 2 tbsp balsamic vinegar
- ▸ 1 tbsp light brown sugar
- ▸ 3 cloves garlic, thinly sliced
- ▸ 2 sprigs fresh thyme
- ▸ 1 sprig fresh rosemary
- ▸ 2 tbsp cold unsalted Kerrygold butter, cubed
- ▸ 1 tbsp finely chopped fresh flat-leaf parsley, for garnish
🛒 Links may earn us a small commission at no cost to you.
Recommended Gear
🛒 We may earn a small commission at no extra cost to you. We only recommend gear we'd use ourselves.
Instructions
Prep
- 1. Pull the duck legs from the refrigerator 30 minutes before cooking — cold meat dropped into a pan drops the temperature too fast and steams instead of sears. Pat each leg completely dry with paper towels; any surface moisture is the enemy of crispy skin.
- 2. Score the fat cap of each duck leg with a sharp paring knife in a crosshatch pattern, cutting through the fat but not into the meat beneath — about 1/4-inch depth. Season all surfaces with Diamond Crystal kosher salt, black pepper, and garlic powder, pressing the seasoning into the scored fat.
Render and Sear
- 1. Place the duck legs fat-side down in a cold 12-inch skillet — do not preheat the pan. Set heat to medium-low. After about 5 minutes you'll hear a faint sizzle begin as fat starts to render; the skin will go from pale to golden at the edges. Hold at medium-low for 20-25 minutes total, until the skin is deep amber-brown, crisp to the touch, and the pan is filled with 3-4 tbsp of rendered fat. Don't rush this stage.
- 2. Flip the legs and sear the flesh side for 4-5 minutes over medium heat until the meat is lightly browned and the juices that run out look clear rather than pink.
Oven Finish
- 1. Preheat your oven to 375°F while the sear is happening. Transfer the skillet, uncovered, to the oven with the duck legs skin-side up. Roast for 30-35 minutes until the internal temperature reads 175-180°F at the thickest part and the skin is deeply crisped and lacquered-looking.
- 2. Transfer the duck legs to a cutting board and tent loosely with foil. Pour off all but 1 tbsp of the rendered duck fat from the skillet into a glass jar and save it — you'll want it later.
Pan Sauce
- 1. Return the skillet to medium-high heat. Add the sliced garlic and cook for 60-90 seconds, stirring constantly, until fragrant and just starting to turn golden — it should smell nutty and sharp. Don't let it brown fully or it'll turn bitter.
- 2. Add the cherries and cook for 2 minutes, stirring occasionally, until they begin to collapse and release their juice — the pan will smell sweet and winey.
- 3. Pour in the red wine and use a wooden spoon to scrape up every browned bit from the bottom of the pan. Add the chicken stock, balsamic vinegar, brown sugar, thyme sprigs, and rosemary sprig. Bring to a boil, then reduce to a vigorous simmer.
- 4. Reduce the sauce uncovered for 10-12 minutes, stirring occasionally, until it's thickened enough to coat the back of a spoon and reduced by about half — it should look glossy and deep burgundy. Remove and discard the thyme and rosemary sprigs.
- 5. Pull the pan off heat entirely. Drop in the cold cubed Kerrygold butter one piece at a time, swirling the pan continuously until each piece melts and the sauce looks glossy and slightly thickened. Adding butter over live heat will break the emulsion.
Serve
- 1. Plate the duck legs skin-side up. Spoon the cherry pan sauce generously over and around each leg — not directly on top of the skin or it'll soften. Scatter fresh parsley over the top and serve immediately.
Cook's Notes
- Drying the duck legs uncovered in the refrigerator for up to 24 hours before cooking gives you even better skin — the surface moisture evaporates completely and the fat renders faster.
- Save every drop of rendered duck fat — strain it into a jar through a fine mesh sieve and refrigerate. It keeps for 3 months and makes exceptional roasted potatoes.
- Don't salt the duck legs more than 30 minutes before cooking unless you're doing the overnight dry-brine method; a 10-minute salting can draw surface moisture back up before it evaporates, which works against crispness.
- The sauce can turn too sweet if your cherries are very ripe — taste after reducing and add 1 tsp more balsamic vinegar to balance if needed.
- If your skillet isn't fully oven-safe (plastic handle, etc.), transfer the seared duck legs to a rimmed half sheet pan fitted with a wire rack for the oven step and build the sauce in the original skillet.
Pro Tips
- → If the skin looks golden at 15 minutes but isn't fully rendered — press it; if it feels soft and spongy rather than firm and crackly — lower heat and give it 8-10 more minutes. Rushing to the oven too soon traps liquid fat under a golden crust that will soften as it cools.
- → The butter-mounting step breaks if you add cold butter to a pan that's still over heat — the emulsion separates and you get greasy sauce with butter pools on top. Pull the pan completely off the burner, wait 30 seconds, then add the butter and swirl aggressively.
- → Scoring the fat too deeply into the meat causes the leg to seize and tighten during cooking, pushing moisture out. Aim for scoring only through the white fat layer — you'll see it clearly; stop when you hit the pink flesh.
- → If your sauce tastes flat after reducing, it's almost always missing acid — add 1 tsp of balsamic vinegar and taste again before adding butter. Salt alone won't fix a dull sauce.
- → Duck legs vary dramatically in size by brand. Smaller legs (under 10 oz) will be done closer to the 50-minute total mark; larger legs (over 14 oz) may need 85-90 minutes total. Always use a thermometer rather than relying on time.
- → For maximum crispness at the table, keep the sauce on the side and let guests spoon it themselves — the skin starts softening within 3-4 minutes of sauce contact, which matters if you're plating for a dinner party where timing is staggered.
What to Serve With This
Duck's richness calls for something with enough structure and acidity to cut through fat without overwhelming the meat. A Pinot Noir is the classic call — specifically something from Willamette Valley or Burgundy — because its earthy undertone echoes the savory depth of the duck while the bright acidity lifts each bite. Avoid anything too tannic; it'll clash with the cherry sauce. If you want a bolder pairing, a Côtes du Rhône (Grenache-dominant) works beautifully, its peppery edge threading through the pan sauce.
For beer drinkers, a Flemish red ale like Rodenbach Grand Cru is the move. Its sour, caramel-fruity profile mirrors the cherry component while the acidity keeps the richness in check. A dry hard cider — something like Angry Orchard Stone Dry — also works well if you want something lighter.
On the side, keep it simple: creamy white bean purée or garlic mashed potatoes that can soak up the pan sauce. Roasted Brussels sprouts or blanched green beans with toasted almonds add bitterness that balances the sweet-savory sauce without competing for attention.
For a non-alcoholic option, a sparkling water with a squeeze of pomegranate juice and fresh thyme does the work — the tartness mirrors the cherry sauce without being cloying.
Variations & Substitutions
For a citrus-forward variation, swap the cherries for blood orange segments and 2 tbsp of fresh blood orange juice, reducing the red wine to 1/4 cup and adding 1 tsp of fresh thyme. The result is brighter and less sweet — better in spring when cherries aren't in season. Keep everything else the same.
To make this gluten-free, the recipe is already naturally GF as written — just verify your chicken stock (if you add any) is certified gluten-free. The sauce thickens from reduction alone, no flour needed.
If you're cooking for two, use 2 duck legs and halve the sauce ingredients exactly. Use a 10-inch rather than 12-inch skillet so the fat renders in a tighter space and the skin stays submerged in its own drippings longer — that makes a real difference in crispness. Cooking time stays nearly the same; check for doneness at the 55-minute oven mark.
For a more Asian-leaning variation, replace the cherry-red wine sauce with a reduction of 3 tbsp hoisin, 2 tbsp rice vinegar, 1 tbsp soy sauce, 1 tsp grated ginger, and 1/4 cup water. Finish with 1 tsp sesame oil off heat. Serve over jasmine rice with sliced scallions. The sear-and-oven method stays identical.
Frequently Asked Questions
Can I use duck breasts instead of duck legs? ▼
Yes, but the technique changes significantly. Duck breasts are leaner and cook much faster — sear skin-side down in a cold pan over medium for 8-10 minutes, flip, and finish in a 400°F oven for 5-8 minutes to medium-rare. The pan sauce works the same way. Don't use the long braise method with breasts; the meat will dry out.
Where do I buy duck legs? ▼
Most large grocery stores (Whole Foods, Kroger, Publix) carry them frozen year-round in the poultry section. Look for Maple Leaf Farms brand — they're widely distributed and consistently sized at about 12-14 oz per leg. Thaw overnight in the refrigerator, not on the counter.
Can I make this ahead of time? ▼
The duck legs reheat extremely well. Cook them through completely, let them cool, and refrigerate uncovered for up to 3 days — the skin actually re-crisps better after resting overnight in the fridge. Reheat in a 425°F oven for 15-18 minutes, skin-side up, directly on a wire rack set over a baking sheet. Make the pan sauce fresh to order; it takes 10 minutes and tastes better when just made.
Can I freeze the cooked duck legs? ▼
Yes — freeze the cooked duck legs (without sauce) wrapped tightly in plastic wrap, then foil, for up to 2 months. Thaw overnight in the refrigerator. Re-crisp skin in a 425°F oven for 18-20 minutes. The skin won't be quite as shatteringly crisp as fresh, but it's still very good. Freeze the pan sauce separately in an airtight container for up to 1 month.
What if I can't find fresh cherries? ▼
Frozen dark sweet cherries (thawed and drained) work just as well here — the sauce is cooked down anyway, so texture difference is irrelevant. Canned dark cherries in juice (not syrup) also work; just drain them and reduce the added sugar in the sauce by half since canned cherries are already sweetened.
Why start the duck in a cold pan? ▼
Starting fat-side down in a cold pan allows the fat cap to render out gradually as the pan heats up, preventing the skin from seizing and trapping moisture underneath. A hot pan jump-starts the exterior before the interior fat has a chance to liquify, which leaves you with chewy rather than crispy skin. It feels counterintuitive but it's the right call every time.
My sauce is too thin. How do I fix it? ▼
Return the sauce to medium-high heat and reduce it uncovered for another 3-5 minutes, stirring occasionally, until it coats the back of a spoon. If it's still not thickening, mix 1 tsp cold unsalted butter with 1 tsp all-purpose flour into a paste (beurre manié) and whisk it into the simmering sauce — it'll thicken within 2 minutes.
How do I know when the duck legs are fully cooked? ▼
The internal temperature should reach 165°F at the thickest part of the thigh, away from bone, but most cooks take duck legs to 175-185°F so the connective tissue fully breaks down and the meat becomes truly tender. At 165°F it's safe but still a bit chewy. Use an instant-read thermometer — guessing doesn't work well with poultry this thick.
Can I cook this in a Dutch oven instead of a skillet? ▼
You can do the initial sear in a Dutch oven, but finish the legs skin-side up and uncovered in the oven so steam doesn't soften the skin. A covered braise will give you tender meat but zero crispness on top. The skillet method is better for maximizing skin exposure to dry oven heat.
How do I store the leftover duck fat? ▼
Strain the rendered duck fat through a fine mesh sieve into a glass jar and refrigerate for up to 3 months. It's excellent for roasting potatoes, sautéing vegetables, or making confit. Don't throw it away — it's genuinely one of the best cooking fats in your kitchen.
Enjoyed this recipe?
Daily Home Cookery is self-funded. If something you cooked here made dinner a little better, a coffee keeps the kitchen running.
☕ Buy me a coffeeYou Might Also Like
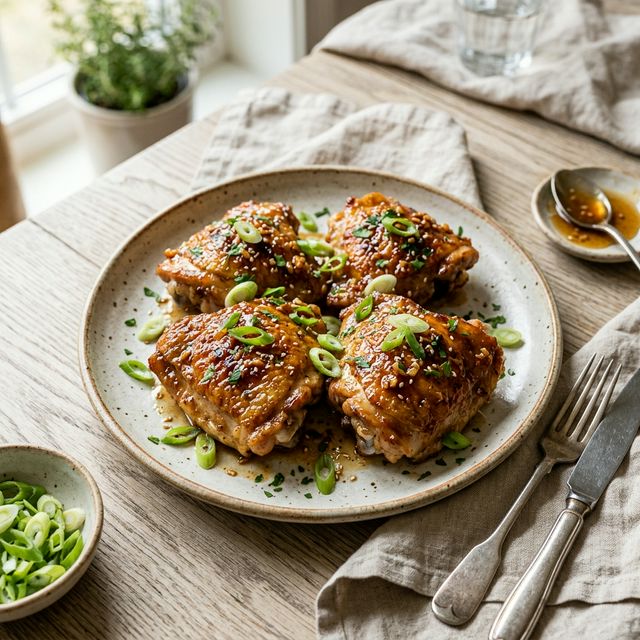
Crispy Honey Garlic Chicken Thighs
Bone-in chicken thighs seared until the skin cracks, then glazed with honey, soy, and garlic and finished in a 400°F oven. Ready in 50 minutes.
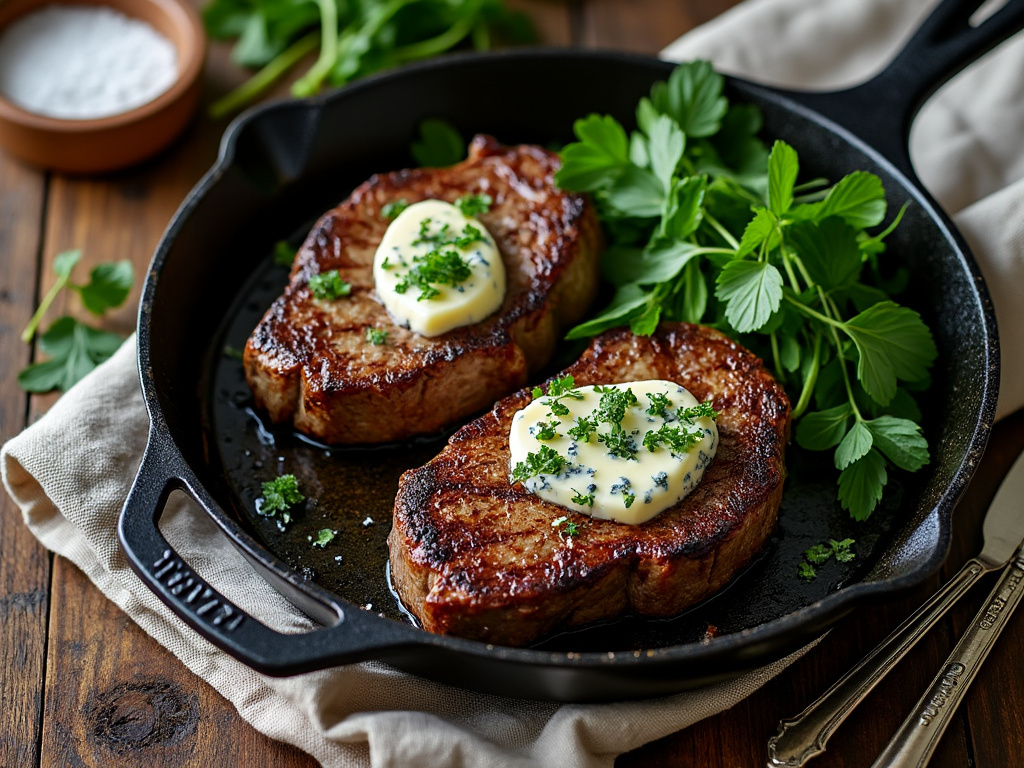
Butter-Basted Skillet Steak with Blue Cheese Compound Butter and Watercress
Cast iron butter-basted ribeye with tangy blue cheese compound butter and peppery watercress. Restaurant technique, done at home in 15 minutes.
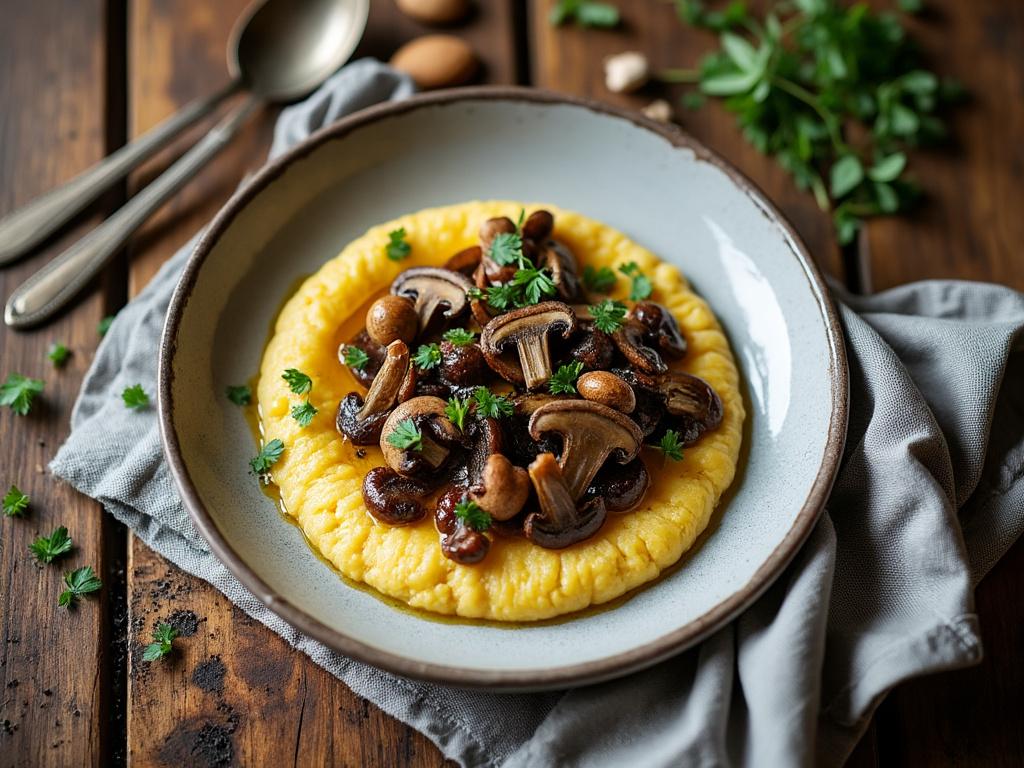
Crispy Polenta with Wild Mushrooms and Truffle Oil
Seared polenta squares topped with cremini, oyster, and shiitake mushrooms in a white wine pan sauce, finished with truffle oil. A solid vegetarian dinner.